During the summer of 2018, my husband and I bought our first house in Denver, Colorado. It was a small ranch home that needed a lot of work, but we were up for the challenge. We spent three years demoing, updating, and completely renovating each livable square footage.
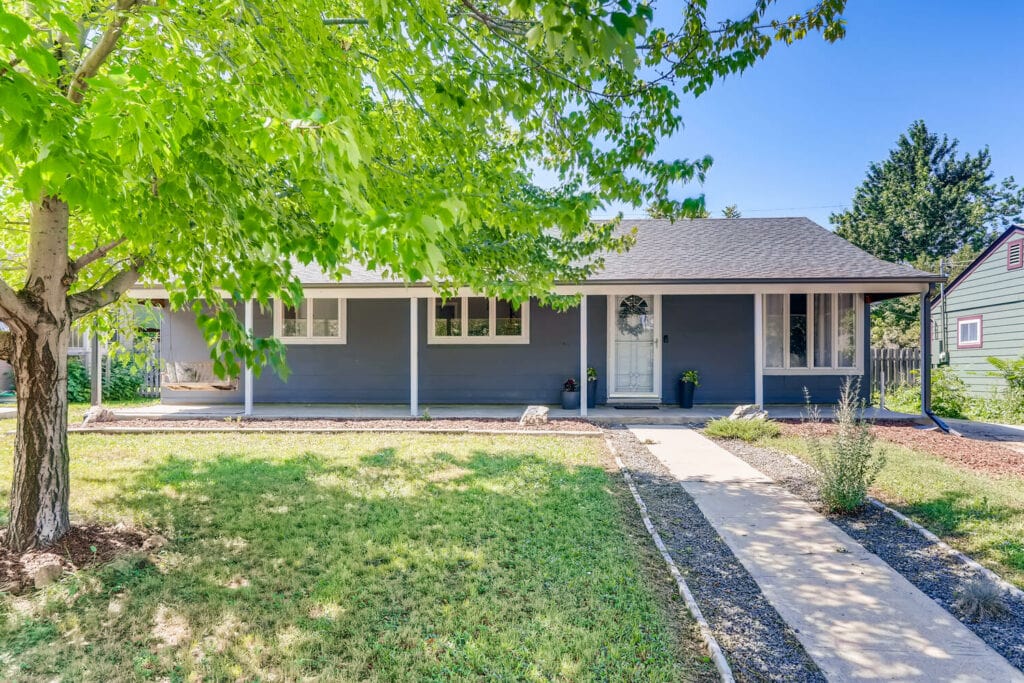
By spring 2021, we were exhausted. We also had a baby in January, so change that to downright sleep-deprived. Around the same time, we decided to put our home on the market. We figured if we could attract the right buyer, all of our hard work in flipping our first home would pay off.
While the housing market is still favorable to sellers, inventory is increasing month-over-month this year. With that said, we knew we had to decide on a few crucial things to stand out against our competition.
Deciding to list our home
First, we needed a real estate agent who could sell our home quickly and for the most money possible. We chose Kim, the agent we previously used to buy the house. Real estate referrals are critical to growing and maintaining their business. In fact, we always refer Kim to all of our friends and family who look to buy or sell a listing.
Second, we required professional real estate images of our listing. Professionally shot real estate images get two times more clicks than those not taken by a professional photographer. We needed to generate as much buyer traffic as possible to our listing on third-party listing sites and the local MLS, especially with new listings published daily. Additionally, we did not host an open house; we only offered drop-in showings, which is even more reason to pique buyer interest online first.
Our agent hired Virtuance to take our real estate listing images. Their real estate photos are stunning, and their online scheduling system makes it easy to plan ahead. Once Kim scheduled our real estate photo shoot, we began to prepare our home. While we had several days to tidy everything and fix any significant eyesores, there are still tasks I wish I had spent less time on and other things I missed completely.
Tips to prepare your listing to sell:
How to prepare your home to list based on my personal experience:
- Create a to-do list and rank the tasks by importance (for photos)
- Declutter as much as possible
- Complete one room at a time
- Clean from ceiling to floor
- Don’t sweat the small stuff, like cleaning the grout on the floor tiles
- Consider rearranging the furniture, especially if it covers windows
- Consider moving wall decor to other spaces
- Remove furniture in some spaces (for example, our dining table had marks on it, and I thought the room would look better and larger in images if it were empty)
- Replace any burnt out lightbulbs
- Match the lightbulbs for corresponding lamps, like on matching nightstands
- Add four fluffy pillows to all beds, and use white pillowcases
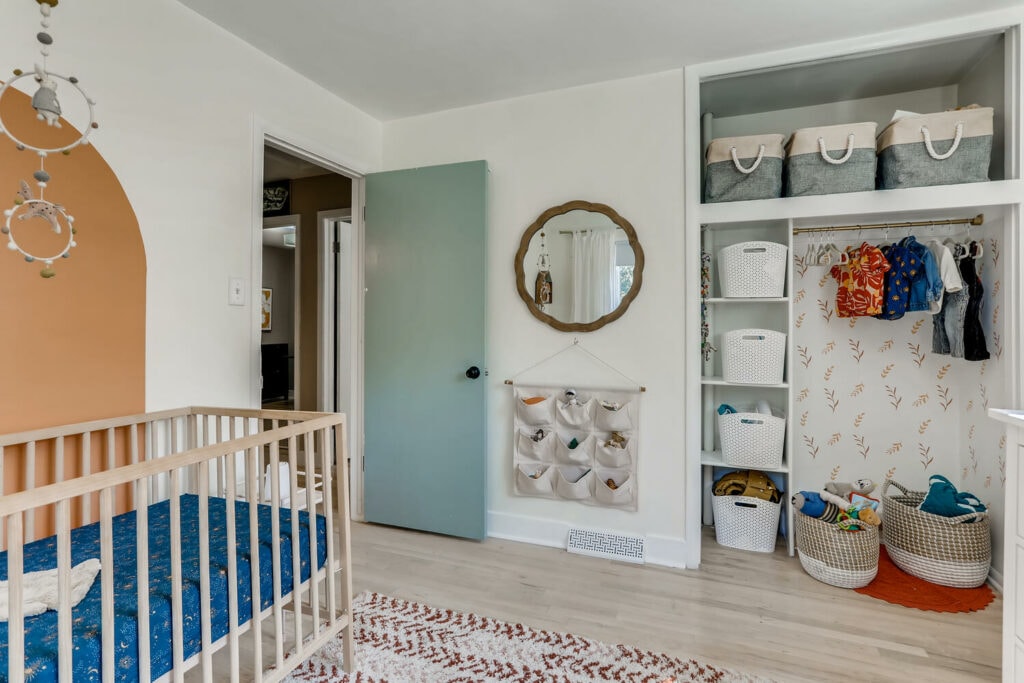
- Stage your closet if it’s open (I removed all of the baby clothes from the nursery closet and only added a few back for some pops of color)
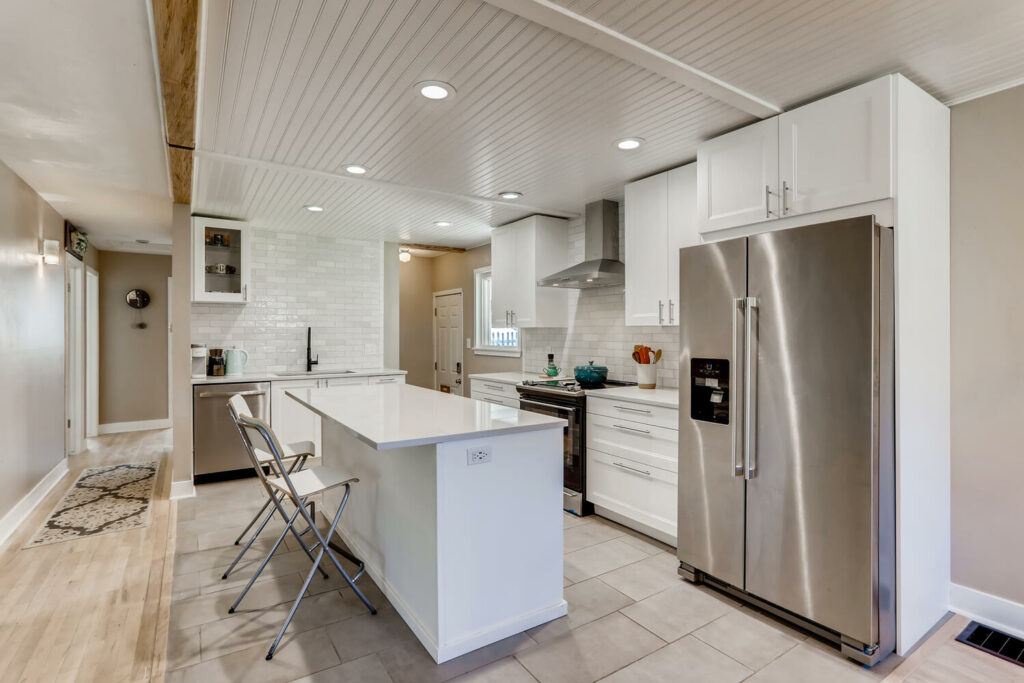
- Remove kitchen barstools if you have too few – this makes the island look bigger (for example, we only have two barstools, but our island can fit four, so our island looked smaller than it was in images)
- Remove refrigerator magnets, photos, and save the dates
- Mow the grass
- Add fresh mulch
- Add potted flowers by the door
- Place a wreath on the front door
- Clean the window panes
- Remove any cars from the driveway
The real estate photographer captured images on a Wednesday, and we received them before 5 pm the following day. We listed our house on the MLS on a Friday. Our listing photos were incredible. I couldn’t stop looking at them! Also, I was so impressed by the amount of traffic we received on third-party listing sites, like Zillow. People viewed our home more than other active comps, and we received more saves in less time.
We went under contract in less than three days for over asking price. I don’t think we could’ve had better results if we didn’t have professional listing photos or a rockstar real estate agent!

